
A Comprehensive Guide to Cleaning a Twin-Screw Extruder
Introduction
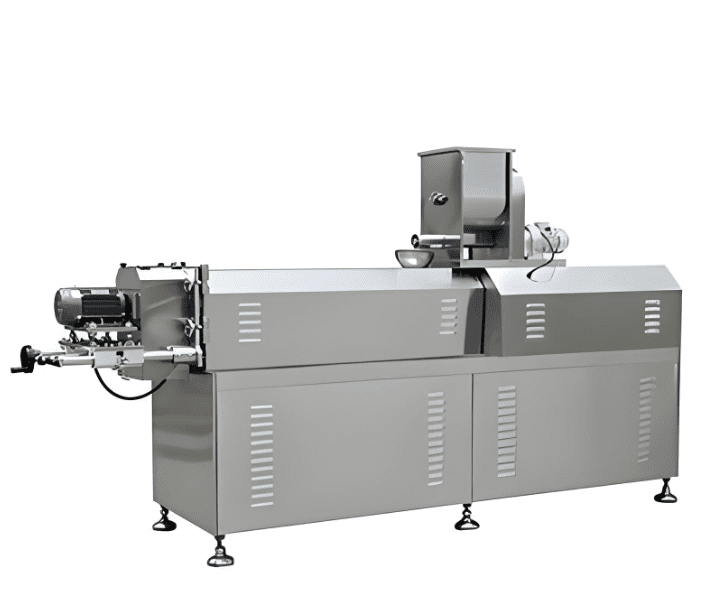
Proper cleaning of a twin-screw extruder is critical for maintaining product quality, ensuring food safety, preventing cross-contamination, and maximizing equipment lifespan. extruder machine This guide provides a systematic approach to cleaning, covering both routine procedures and deep-cleaning protocols for small-scale puffed cereal or snack production lines.
Phase 1: Pre-Cleaning Preparation & Safety
1.1 Safety First – Lockout/Tagout (LOTO)
- Isolate all energy sources: Electrically lock out the main motor, heaters, and feeders.
- Depressurize systems: Ensure steam and hydraulic lines are fully vented.
- Cool-down period: Allow the barrel to cool below 60°C (140°F) before disassembly to prevent burns.
1.2 Gather Tools & Materials
- Brass scrapers and brushes (softer than barrel steel to prevent scoring)
- Food-grade cleaning solvents (e.g., hot water, food-grade detergents, or approved oil-based purging compounds)
- Dry purge material (e.g., rice flour, oatmeal, soy grits, or manufacturer-recommended compound)
- Personal Protective Equipment (PPE): Heat-resistant gloves, safety glasses, and steel-toe boots
- Container for parts and clean, lint-free cloths
Phase 2: Routine Operational Cleaning (Between Batches/Runs)
This is for product changeovers where allergen or color changes are necessary.
2.1 Purge with Dry Material
- After running the product out, feed a dry, absorbent purge material (like rice bran or oatmeal) through the extruder.
- Continue until the material exiting the die appears free of the previous product color and odor.
- This absorbs residual oils and starch from the barrel.
2.2 Solvent or Wet Purging (If Required)
- For more stubborn residues, introduce a small amount of food-grade oil or a specialized liquid purging compound with the dry purge.
- Caution: Excessive liquid can cause a sudden pressure drop or steam flash. Follow material guidelines carefully.
2.3 External Wipe-Down
- While the barrel is still warm (but safe to touch), wipe down all external surfaces, extruder machine the feed hopper, and the die area with a damp cloth to prevent product buildup.
Phase 3: Deep Cleaning – Full Disassembly Procedure
Perform this weekly or when switching between vastly different products (e.g., savory to sweet).
3.1 Sequential Disassembly
- Remove the die head assembly: Loosen bolts gradually in a cross pattern to avoid warping.
- Remove the cutter mechanism: Clean blades separately with solvent and a soft brush.
- Extract the screws:
- Mark screw segments and their order/orientation before removal (photograph for reference).
- Use a screw-pulling device if available. Never hammer screws directly.
- Lay screws on a clean rack or table in their exact sequence.
3.2 Cleaning Individual Components
| Component | Cleaning Method |
|---|---|
| Die Plates & Heads | Soak in hot, soapy water. Use brass brushes to clear each die hole. Rinse thoroughly and dry immediately to prevent rust. |
| Screw Elements | Scrape with brass scrapers to remove carbonized buildup. Soak stubborn areas. Never use steel tools that can scratch the surface. |
| Barrel Sections | Inspect each barrel with a flashlight. Use a long-handled brass brush and cloths to wipe the inner bore. Ensure no material remains in crevices. |
| Feed Hopper & Casing | Wash with detergent, rinse, and dry completely. |
3.3 Inspection During Cleaning
- Check for wear: Look for scratches, pitting, or signs of corrosion on screws and barrel.
- Measure key gaps: Use feeler gauges to check clearance between screw tips and barrel wall. Excessive wear reduces efficiency.
- Inspect seals and gaskets: Replace any that are worn, cracked, or compressed.
Phase 4: Reassembly & Post-Cleaning Protocols
4.1 Systematic Reassembly
- Reinsert screws: Ensure they are in the exact original configuration and fully seated. Rotate by hand to confirm smooth movement.
- Reattach barrel sections: Tighten bolts evenly to manufacturer’s torque specifications.
- Reinstall the die head: Use new, food-grade gaskets. Tighten bolts in a star pattern to ensure even pressure and prevent leaks.
- Reattach the cutter and guards.
4.2 Post-Assembly Check
- Conduct a dry run: With the die plate off, jog the extruder at very low speed to ensure no obstruction and smooth rotation.
- Perform a water flush (optional): Run clean water through to remove any final debris before production.
Phase 5: Special Considerations & Best Practices
5.1 Cleaning Frequency Guidelines
- Between similar products: Dry purge only.
- Allergen changeover (e.g., wheat to corn): Full dry purge + disassembly of feed zone and die.
- Color change (e.g., uncolored to red): Full disassembly and wet cleaning.
- Weekly/Monthly: Full deep clean regardless of product run.
5.2 Documentation & Hygiene
- Maintain a cleaning log with date, time, products run, cleaning method, and personnel.
- Store disassembled parts in a clean, dry, dedicated cabinet.
- Use color-coded tools for different allergen zones if applicable.
5.3 Troubleshooting Common Issues
- Persistent residue: Soak parts in a food-grade, extruder machine alkaline detergent solution. For lipid residues, a degreasing solvent may be needed.
- Scratches on screws: These often originate from foreign material (stones, metal) in the feed. Install or check magnets in the feed hopper.
A meticulously cleaned twin-screw extruder is the foundation of consistent product quality and operational efficiency. By implementing this structured approach—prioritizing safety, using correct tools, following systematic disassembly/reassembly, and adhering to a disciplined schedule—operators can prevent contamination, reduce downtime, and extend the service life of this critical capital investment. Remember: in food extrusion, cleanliness is intrinsically tied to both safety and profitability.


